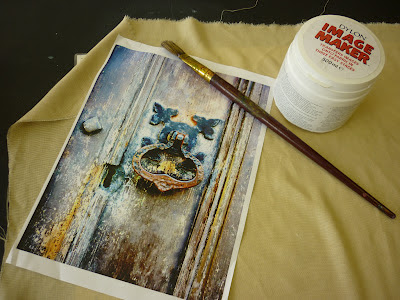
I love using fabrics and wanted to use my photo's taken earlier in the week. Using Image Maker, a special paste which transfers pictures onto fabric, I created a base image to work from.
The secret ingredient is of course, Image Maker, which can be found at most hobby and art stores.
Paste it thickly all over your image so you can't see the picture very well anymore. Wash up your brush in water straight away as Image Maker will dry rock hard! I've lost many a good brush to the paste.
Once your image is completely covered, flip it over and press down onto the desired area on your chosen fabric. Smooth out any wrinkles by hand to get it as flat as possible.
Now leave it to dry. Overnight if you can resist! Sometimes I place mine on the radiator to speed up the process (naughty!). Keep it flat whilst drying, this will prevent wrinkles. Wrinkles! *shakes fist*
Once dry it's the fun part! Saturate the image with water. And I mean saturate! You should be able to see the image through from under the layer of white paper.
Take a cloth or your strong finger and begin rubbing in circular motions. The top layer should begin to ball up and rub away. Brush the excess paper away to reveal your image underneath. Leave to dry.
 |
| I've taken my image a little further and screen printed over it. |
This wet /rub process may have to be repeated several times, drying in between, to ensure all the 'fluff' has gone. Once you're happy you have done as much as you can, rub in a final THIN layer of Image Maker over the top to seal in your picture and give it that crystal sheen!
It's good stuff, you can use photocopies, printed images from your own photos, pages from magazines or books (although words will come out backwards so reverse the image on the photocopier first). Have fun!


No comments:
Post a Comment